DIY Polaroid Coasters
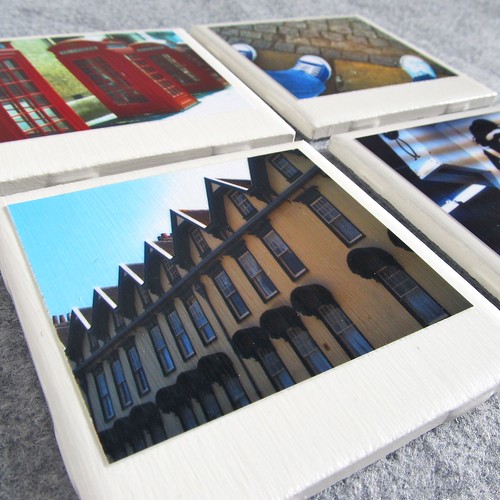
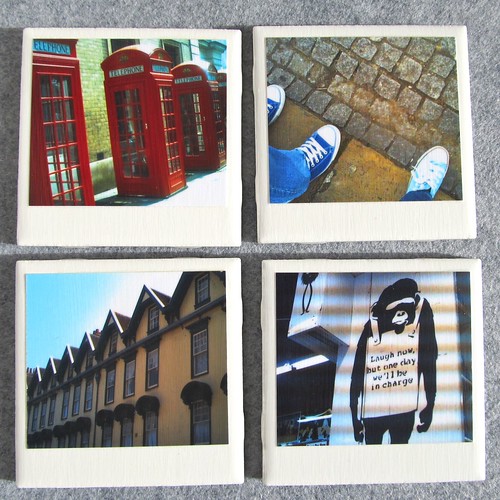
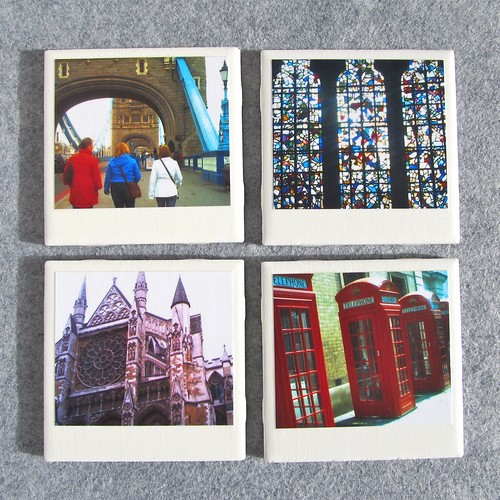
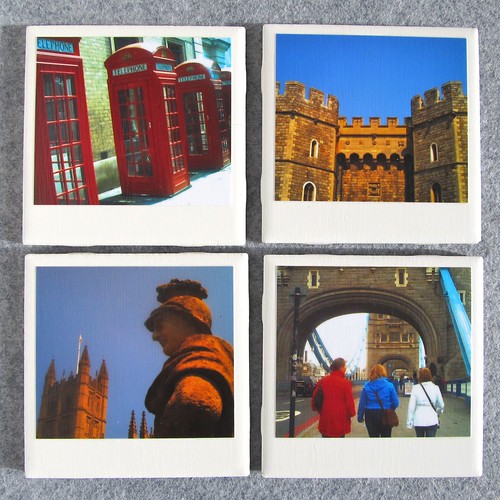
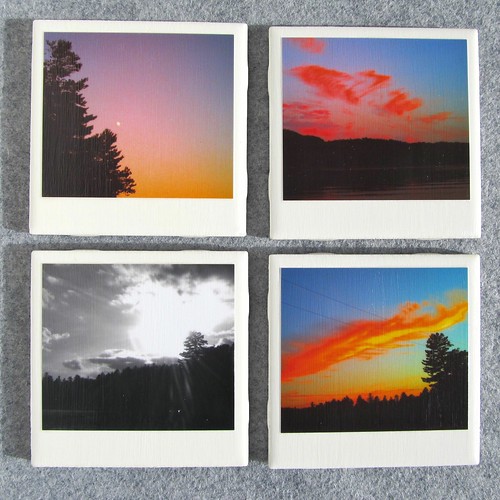
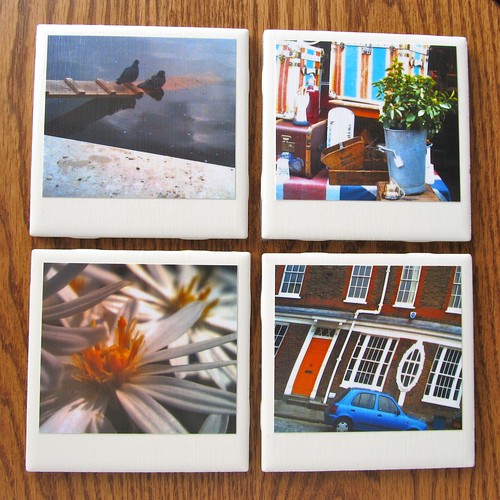
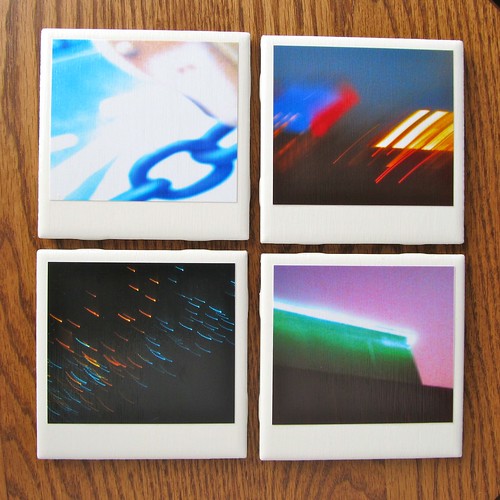
Awhile ago I found the most brilliant tutorial on darkroom and dearly to make Polaroid looking coasters and knew they'd make great Christmas presents! I made eight sets of four coasters and loved how each one turned out!
All of the pictures I chose for the coaster sets were taken with my Harinezumi camera because I thought they were the most funky and Polaroid-looking photos I had.
Do you know how hard it is to find someplace that still prints 3.5x5 photos? I ended up ordering my prints from AdoramaPix.com (and will definitely go back for future prints).
I made a couple of sets for the friends I went to London with back in May.
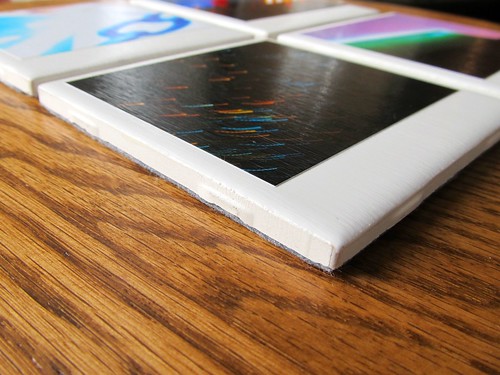
I bought the 4x4 tiles at Lowe's and scruffed them up a bit with some 80 grit sandpaper where I knew the cropped photo was going to be glued. I Mod Podged both the area I sanded and the back of the photo. Once dried, I put 5 coats of Mod Podge over the top (allowing drying time in between), and 2 coats of artist's varnish to eliminate any tackiness from the Mod Podge.
Lastly, using Aleene's Tacky Glue, I glued the bottoms of the tiles to some wool felt, let them dry, and then cut the felt around the tiles. I went back and added glue to any spots under the felt that didn't get glued down since I was careful not to glue too close to the tile edges (to prevent glue squishing out the side of the tile, which would make cutting the felt off around the tiles difficult).
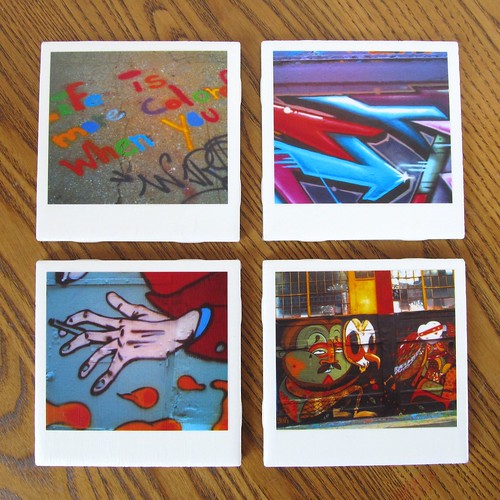
This graffiti set for my sister and brother-in-law was made with pictures my sister took with my Harinezumi on one visit to the city. (This little trip actually.)
I really love the unpredictable shots you get with that little camera!
I think this project is very easy and relatively inexpensive with big results! You should definitely check out the tutorial at darkroom and dearly!

What a great idea for coasters (or 'trivets' as we call them in England when they are raised and able to take dishes). It makes a very personalized gift or souvenirs of fun and wonderful moments!
ReplyDelete