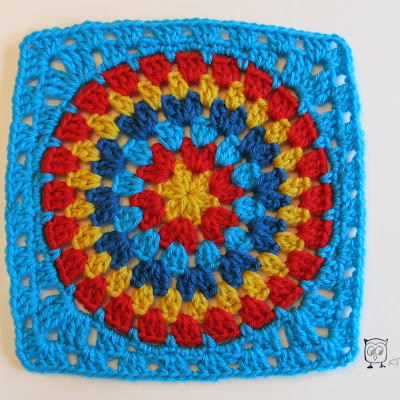
What's this? You've made some
Granny Arrows blocks and you're wondering how to join them? Well, you're in the right place my friend. This is the Granny Arrows Tutorial- Part 3: Join-As-You-Go, where I'll show you how to join your squares as you crochet them, and give you a couple more ideas as well.
With a contrasting color, you could single crochet your blocks together, like in the picture above. To do so, hold your blocks with wrong sides together, and single crochet through the back loops. Do this for every parallel row. Once all the blocks are together, turn your blanket and work the perpendicular rows.
You could sew together your squares by holding them right sides together and whipstitching through the back loops. Or, you could first add a row of single crochet around each block, and then whipstitch them together.
Or, let's say you have a bunch of Granny Arrows (with 4 rounds) made from scrap yarn, like in the picture above. You could join all of them with the same color (or different colors) on the fifth round. (You could join on whatever round you want.) To show you how to do this, I'm using different colors for the fifth round so you it will be easier to distinguish between the stitches of each square.
I will refer to the square you are crocheting as the "working square," and the square that you are joining it to as the "adjoining square."
 |
| First, do a fifth round on your first square (adjoining square). With your next working square, start the fifth round like normal, until you get to the first corner. Work 3 dc, ch1, slip stitch into a corner of your adjoining square... |
 |
| Ch 1, 3 dc in corner of working square, ch 1... |
 |
| Slip stitch into next ch 2 space on first square, ch 1, dc2tog in ch 2 space of working square... |
 |
| Slip stitch into next ch 1 space on adjoining square, ch 1, work dc2tog over same space and next ch 1 space on working square.. |
 |
| Slip Stitch to next ch 1 space on adjoining square, ch 1, work dc2tog over same space and next ch 1 space of working square... |
 |
| Slip stitch to next ch 1 space of adjoining square, ch 1, work dc2 tog over same space and next ch 2 space on working square, slip stitch to next ch 1 space on adjoining square, ch 1, dc2tog in same space on working square... |
 |
| Ch 1, slip stitch to next ch 2 space on adjoining square, ch 1, 3 dc in corner space of working square... |
 |
| Ch 1, slip stitch to adjoining corner, ch 1, 3 dc in corner of working square, and finish the working square as normal. |
 |
| Keep joining squares in the same manner to make a row of joined squares however many blocks long as you'd like. First row is completed. |
 |
| Begin your second row of joined squares as before. |
 |
| When joining the next square that will be crocheted to two adjoining squares, start as before until you get to the second corner. |
 |
| 3 dc, ch 1, slip stitch to corner of current adjoining square... |
 |
| Slip stitch to corner of next adjoining square... |
 |
| Ch 1, 3 dc in corner of working square, and finish crocheting to adjoining square as normal. Keep going until your blanket is the desired size! |
Once you get the hang of it, it may be easier to remember:
When joining to a ch 2 space: ch 1, slip stitch, ch 1 (continue crocheting round)
When joining to a ch 1 space: slip stitch, ch 1 (continue crocheting round)
When joining to two corners: ch 1, slip stitch, slip stitch, ch 1 (continue crocheting round)
If you have any questions, let me know!


Ok!!!!! Even my approaching weekend will be really busy crocheting!!!! ;oD
ReplyDeleteThank you my dear Kate!!
Love, xxx Ale
awesome tute! i keep seeing join-as-you-go but haven't seen how to do it. thanks!!
ReplyDeleteGreat tutorial, Kate I've always wondered how to join the granny squares, thanks for your help.
ReplyDelete