Doily-Along Part 4
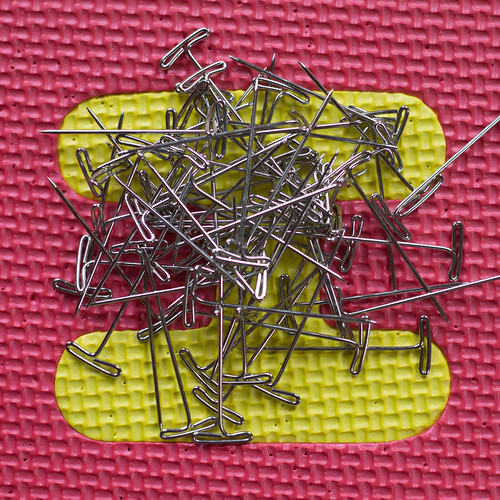
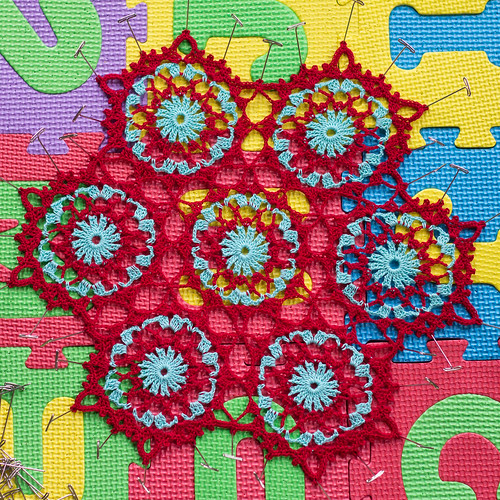
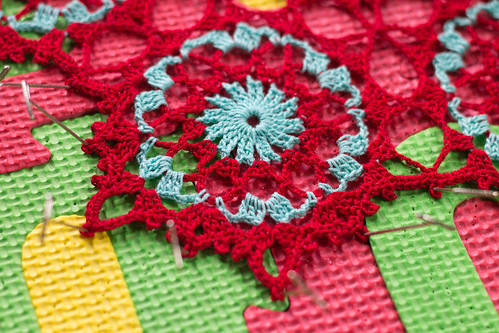
Are you guys ready to meet your new best friends? T-pins! Ok, grab your t-pins (or any kind of stainless steel pins), your blocking board (I use rubber kid play mats), your spray bottle with water and your doily, and let's get blocking!
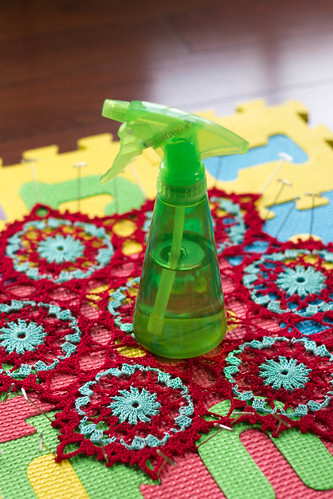
We will be pinning out our doily with t-pins, and then spraying it with water. If you don't have a spray bottle, wet your doily first under a faucet and ring out the excess water.
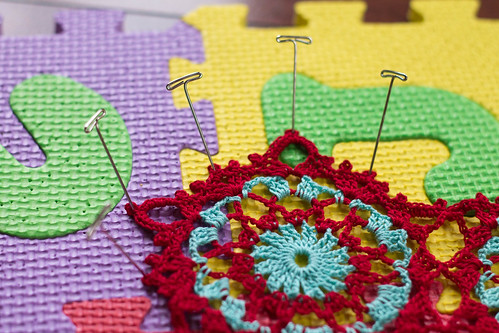
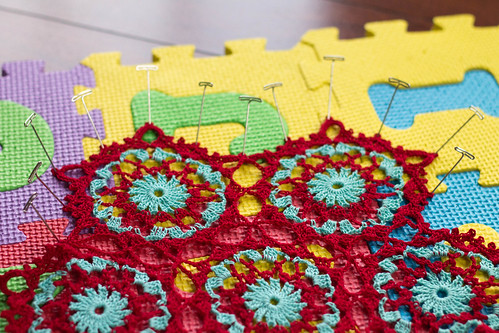
For this doily, I found the best way to to pin it out was to place your pins in the middle of some of the picots around the edge.
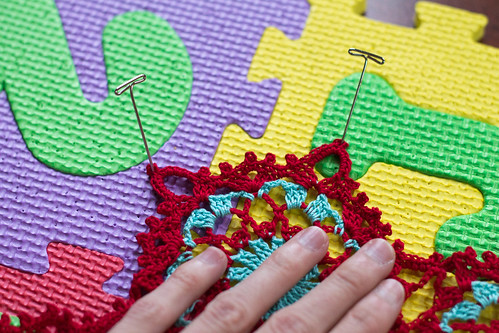
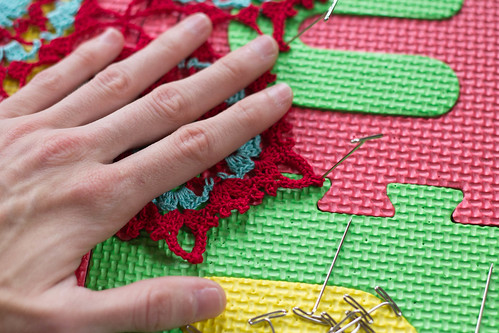
Pick one of the motifs on the edge, and start by placing pins in the the middle of the picots on the large loops at a slight angle. Placing the pins in at a slight angle will stop the doily from sliding up the pin. By using your hand, you can help spread out your doily, and then you can slightly pull out the picots with your pins. But don't stretch them out out too far.
Next you can pin out the picot in the ch 3 loop. You can pin out the other picots if you'd like, but I didn't think it was necessary.
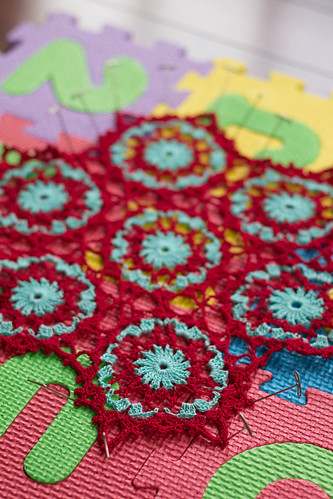
I find that to help keep your blocking piece even, start pinning in one place, and then pin some more on the opposite side.
You can also start pinning the picots in the join between motifs.
As you go, you may find that you have to adjust some pins.
I know it probably sounds unhelpful to say "stretch it out a little, but not too much," but you'll start to feel where the natural stretch of your piece is.
Once you get your piece all pinned, spray it damp, but not soaking.
And now just let it sit overnight to dry! We'll unpin it tomorrow!
Nice T-pins! You make it all look so easy and I shall look forward to seeing the end result when the doily is dry!
ReplyDeleteOk !!!!!
ReplyDeletexxxxx Ale