Starshine Doily
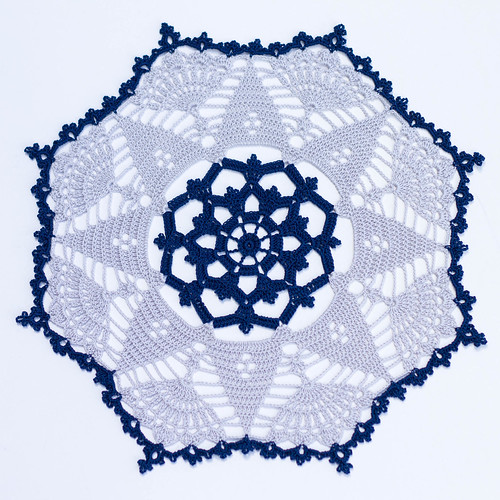
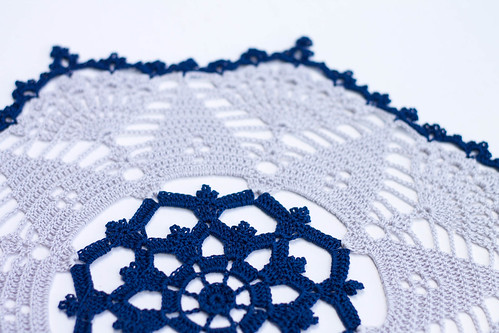
It's doily time! Today I'm sharing with you the Starshine Doily. Now, some of you may not be able to tell the difference, but upon editing these photos I realized that I had the doily wrong-side up when I took them! It bothered me so much that I almost didn't post this, but I know it doesn't change the look of the finished doily too much...
The Starshine Doily pattern can be found HERE (and the Ravelry pattern page HERE). The color changes were inspired by CherryHeart's doily. I used Aunt Lydia's size 10 thread in Silver and Navy, and a 1.65mm hook.
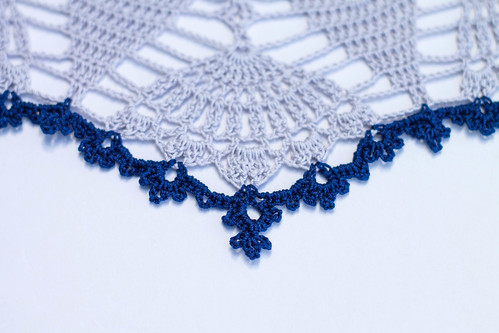
You have to like picots and be willing to block it out when you're done, but I think the final result is worth it! (Especially when you see it right-side up! I'm still kicking myself!)
I hope you're having a great week!


Lovely! I did the excact same thing a few weeks ago, and it turned out perfectly.
ReplyDeleteAnd for sure I will do that again. Thank you for the pattern info.
Have a nice day
Haha, glad to know I'm not alone!
DeleteHappy crafting!
Kate :}
I know what you mean about the wrong size up, it also bothers me even though other people may not notice :-) However, this is a very nice oily and great pictures!
ReplyDeleteI love all your doilies Kate! I haven't done anything anything like it. :D Maybe next time I'll try. May I know how you block it? Thanks! Jho of BluBox of Love.
ReplyDeleteThanks so much Jho! For a blocking board I use those kid's rubber play mat pieces. They are great for pushing pins into, and they are pretty water proof. I pin out the doily to shape, spray it with water, and let it dry overnight before unpinning them.
DeleteHope that helps, and if you have any other questions, just email!
Happy crafting!
Kate :}
It's a beautiful doily! Have a great day. :)
ReplyDeleteThank you Debi!
DeleteHope you've had a lovely weekend!
Kate :}